
So, for the past year and a half we've had an empty dining room. You can see the first thing we did to furnish it here. Still lacking a table to dine at, Casey found a farmhouse style table that she really liked on this great site that includes 3D building plans, a shopping list and cut list for the wood. All these provisions were extremely helpful for a novice builder like myself. Not really knowing what I was doing, I just jumped right in and went for it. I had to learn (by watching YouTube videos and just trying things out) how to do a lot of the building techniques as I went. Trust me, if I could do it...you can, too! Here's an overview of how it went:
After making the necessary cuts, I put together the two ends of the frame. I just used some good ol' screws and a little wood glue on this part.


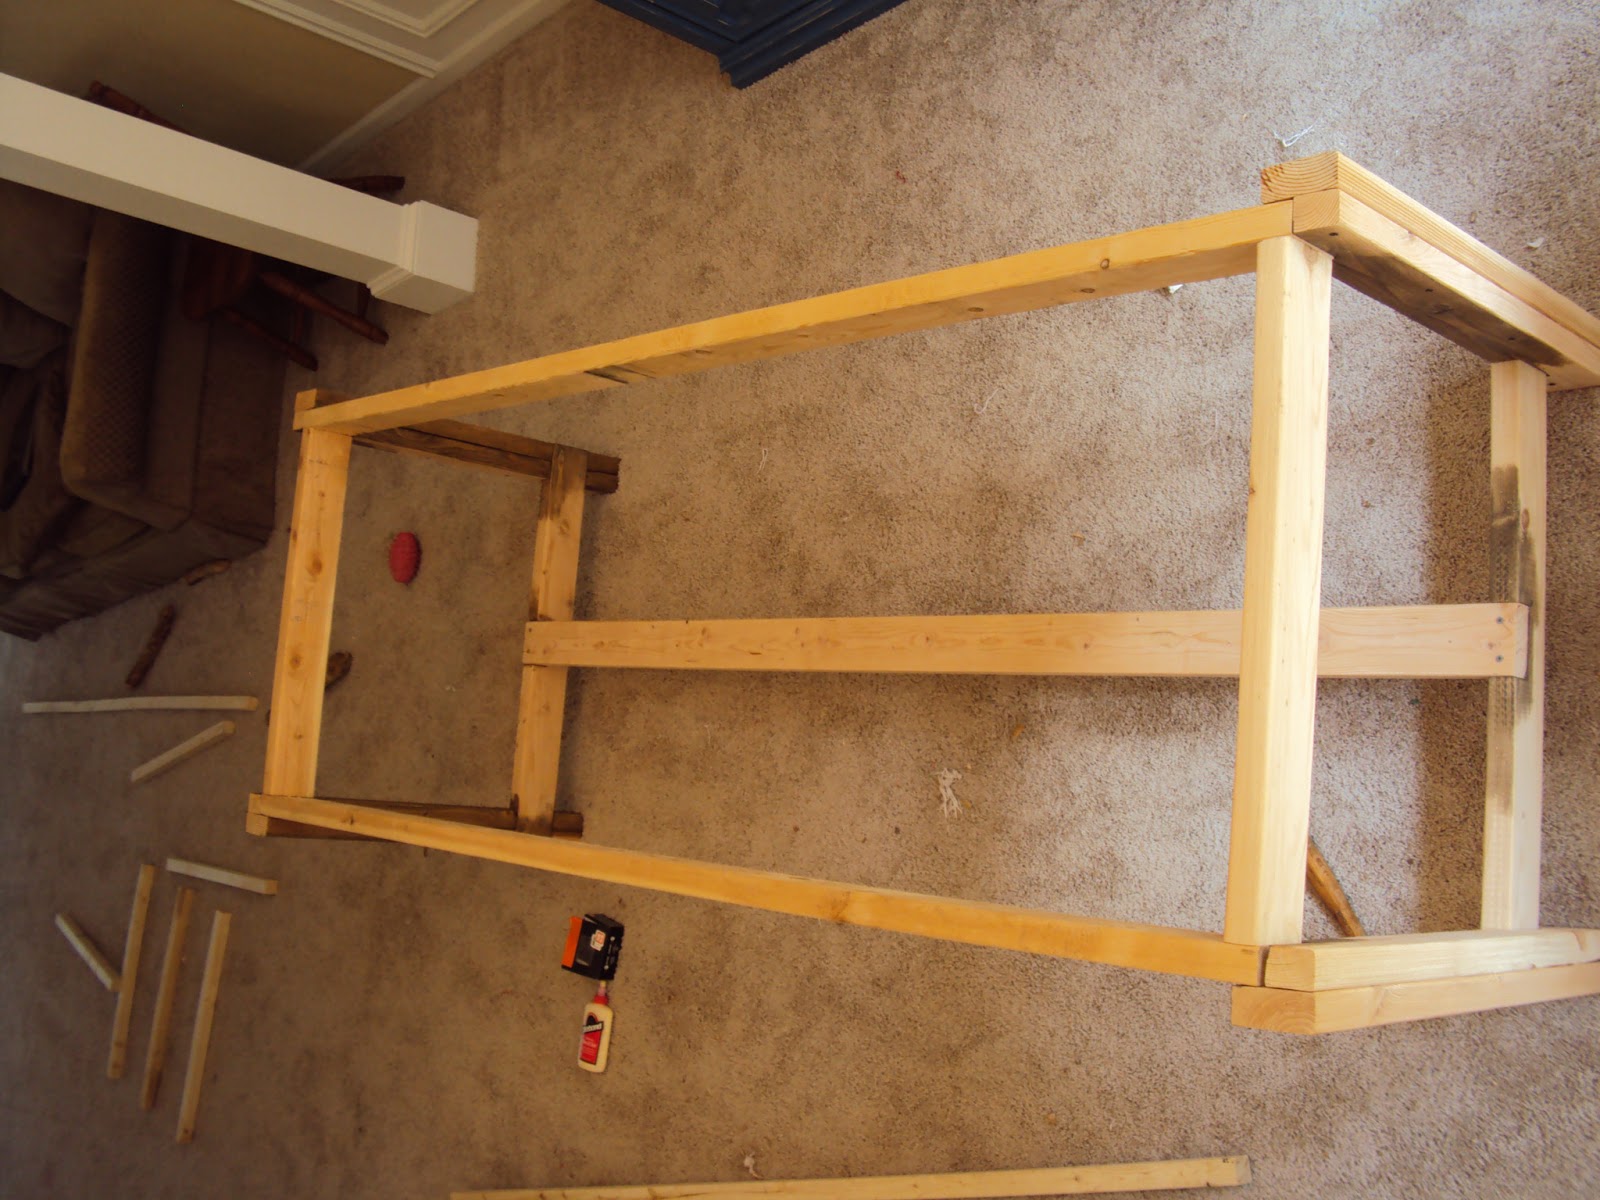
The next part was quick and easy. All I did here was stand the sides up (if put together properly, they will stay standing without support) and insert the stretcher board into the slots I had notched out earlier.

Next, I secured the frame for the table top. A critical part of this step is making sure the frame is square at the corners so that your table will be square. The table top frame fits simply into the notches made in the end pieces.

This next part was one of my favorites because I could really see it coming together. I pre-stained the edges of the tabletop boards so the cracks would all be stained. Using pocket hole screws with my Kreg Jig, I secured all of the boards together on a level surface. The top is made up of four 2x10s placed side-by-side and a 2x8 bread board at each end. All put together, it measures 37 inches wide and 96 inches long.


The table looks great in the space and it will last us a loooooooooong time because it is well-built and solid wood. My friend liked it so much that he asked me to make one for him to go in his house! Would you like a great looking, personalized, long-lasting farmhouse table for yourself? You can let us know by emailing us at sweetlynested@gmail.com.
No comments:
Post a Comment